

We’re giving away the chance to win a 1-hour DIY consultation with Jackie, personalized supply list and $100 Valu Home Centers gift card. Enter now »
White beadboard wallpaper I installed as a quick-fix, budget-friendly solution in 2011 sat in place of much-needed kitchen tile backsplash for a decade. I’m afraid to admit that, after looking at it for so long, it started to blend in.
We all have those areas in our homes we neglect, avoid or scoot by as we subconsciously close one eye and try not to think about, right?
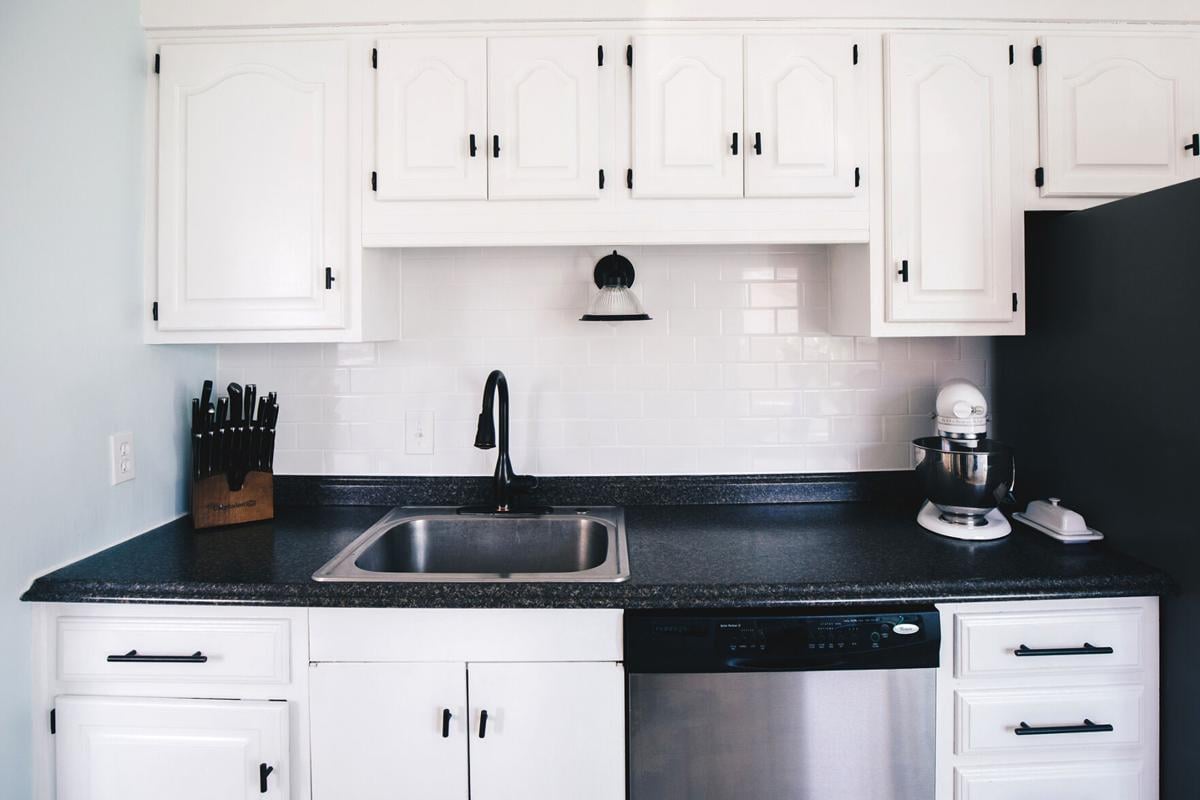
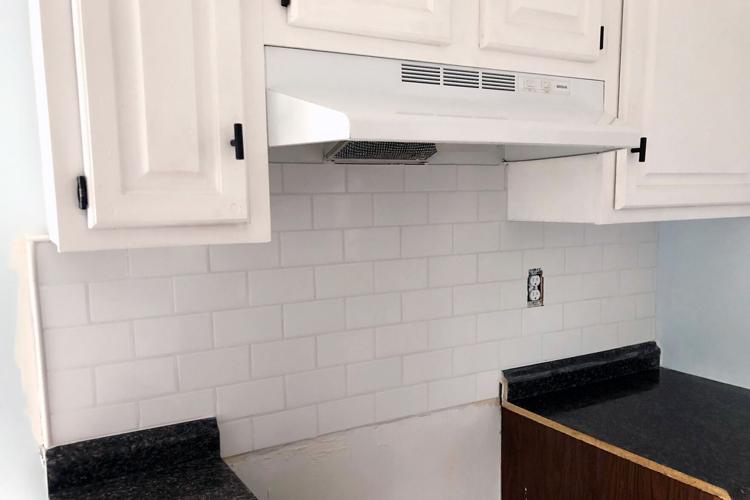
The moment struck that now was the time to upgrade the pasta sauce-stained wallpaper to fresh, clean subway tile. I decided to put my do-it-yourself (DIY) skills to the test.
I love to tackle DIY projects because they have many advantages. For starters, DIY allows you to save oodles of money while learning new skills in the process. Another great thing about taking on a project yourself is that you can exercise your creativity and use your brain in different ways than your everyday life offers. There’s also something incredibly satisfying about looking at a space when you’re finished, knowing your hard work paid off and you can enjoy the fruits of your labor.
Installing a tile backsplash may seem like an intimidating task to take on, but I’m here to tell you that if I can do it six months pregnant, you can do it too!
Tiling a kitchen backsplash for a clean slate

Let’s walk through installing a tile backsplash from start to finish. In the end, you’ll have a beautiful new backsplash that will spice up your kitchen for years to come—and you can be proud knowing you did it yourself!
For this DIY project, you’ll need:
- Measuring tape
- Level or laser level
- Pencil or marker
- Plastic/garbage bags and tape
- Tile
- Tile saw, snap cutter and tile nipper – the combination of tools you’ll need will depend on what type of tile you purchase
- China marker
- Thinset
- Square notch trowel
- Tile spacers
- Grout (sanded or unsanded, depending on what tile you choose)
- Rubber float
- Margin trowel
- Two clean buckets
- Sponge
- Tile sealant
Step 1– Plan and measure your space
Planning where your tile will go is an essential step to a successful tile job. It may be obvious where the tile should start and stop – for example cupboard-end to cupboard-end. Other times, it can take a little imagination or creativity as to where the tile should live, and you may even go all the way up to the ceiling! No matter what you choose, careful measurements are crucial to ensure you get the amount of tile you need for the job.
Tile is usually sold by the square foot, so to get accurate measurements for your space, multiply length by width. If your area isn’t a clean rectangle or square, split it up into smaller sections to measure, calculate the square footage and add it all up.
It’s important to add on extra tile to your order to account for mistakes and any cracked or chipped tile. If you’re using a stone finish, you’ll especially want extra tile on hand to allow you to play around with the patterns since it doesn’t have a uniform pattern or coloring.
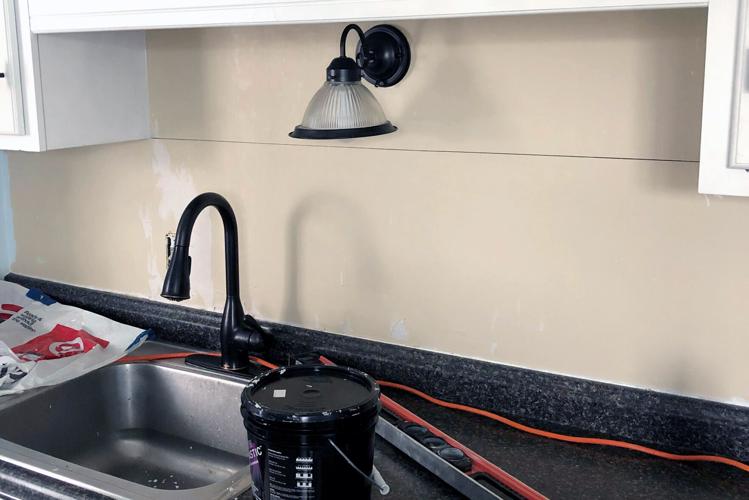
Step 2 – Clean and prep
Before you get started with installing your tile, it’s best to clean your surface and remove any electrical plates using a screw driver. Working on a clean surface will allow your products to adhere properly. In the examples you see here, I removed the wallpaper using a steamer and a flat scraper tool to peel it from the wall prior to tiling. It’s also recommended to cover all countertops with plastic or garbage bags and tape so the thinset and grout doesn’t damage or stain them.
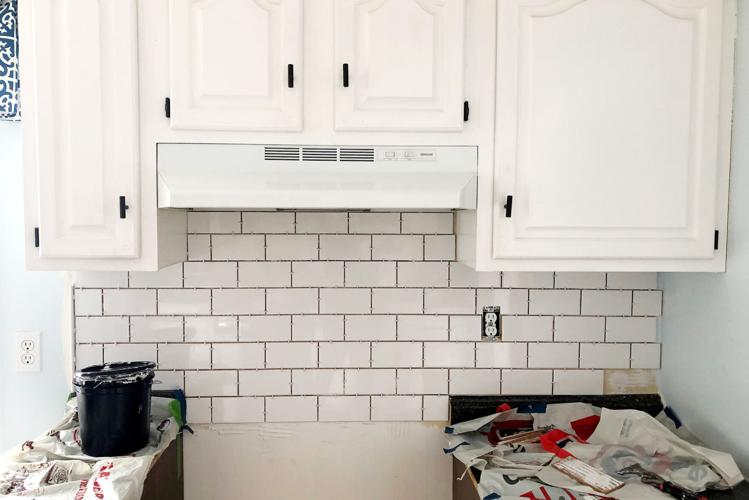
To further prepare for applying the tile, think about the layout you want to achieve. I went with a brick joint for my subway tile because it is a classic look and fairly easy to achieve. Depending on your patience and skill level, there are so many options to choose from: stacked, herringbone, basket weave, running bond and so on. Once you determine the design, you may want to do a dry run and lay it out in another room to visualize how it will look.
Step 3 – Measure, cut, mix and apply

Decide what area you want to start tiling and create a level line to work off of. This can be accomplished by using a regular level and drawing a line across the wall as a guide, or by using a laser level. It’s important you start with a straight line because the rest of your tile job will work off the first line you lay. I started at the bottom and worked my way up.
Once you have a level line set, begin measuring and cutting your tile in preparation for laying them. Be precise with your measurements and follow the “measure twice, cut once” method to make sure you’re not wasting any tile...and saving your sanity in the process. Marking your tile with a china marker works wonders and wipes off easily without damaging your tile.
I had a wet tile saw handy for all of the tile cuts and it worked perfectly. If you don’t have access to a wet tile saw, consider asking a friend to borrow or rent one. If you see another tile job in your future, you may also want to consider buying one yourself as they are relatively inexpensive. If a tile saw isn’t an available option, depending on what tile you choose, you may be able to get away with using a snap cutter and tile nipper for your cuts.
Once you have enough tile cut for an area that you feel comfortable with, you can get started on installing your backsplash! Mix up your thinset according to the directions on the package, or go the easy route and get premixed, ready-to-go thinset just like I did.
Determine where you want your tile to begin and apply thinset to the wall using your square notch trowel with the notched lines grooved in a vertical pattern. You’ll want enough thinset so the tile will apply to the wall with ease, but not too much that it’s oozing out the sides of the tile.
Thinset tip! Only apply thinset to small areas to start until you find your pace. Thinset dries relatively quickly, so you want to work fast and not overapply.

When placing your tile, make sure to press the tile into the thinset evenly so they are uniform when looking at them from the side. Using tile spacers, shimmy the tiles into place and add the tile spacers on the sides and top of each tile. Pro tip! If you’re new to tiling, the more the merrier when it comes to tile spacers.
While you’re waiting for your tile to bond and your thinset to dry, thoroughly clean your tools to get the product off. A clean tool is a happy tool!
Step 4 – Grout and sponge clean

Mix the grout according to the directions on the back of the bag. Start with less water than you think – you can always add more while you are mixing. Once it is fully mixed and the consistency of pancake batter, you’re ready to grout.
Using your rubber float, apply the grout on a 45-degree angle to get the product in all the crevices. Avoid grouting in the same direction as your tile grout lines as it will wipe the grout away as you’re working. For smaller sections, using a margin trowel works beautifully. Continue applying the grout from different directions to ensure full coverage.
Once you have a sizeable area grouted, dip a sponge in a clean bucket of water and squeeze all the water out. In a circular motion, wipe away the excess grout from the facade of the tiles. Again, avoid sponging off the grout in the same direction as your grout lines as it will wipe too much grout away as you’re working. Always work with a clean sponge, so rinse and squeeze dry as you work.
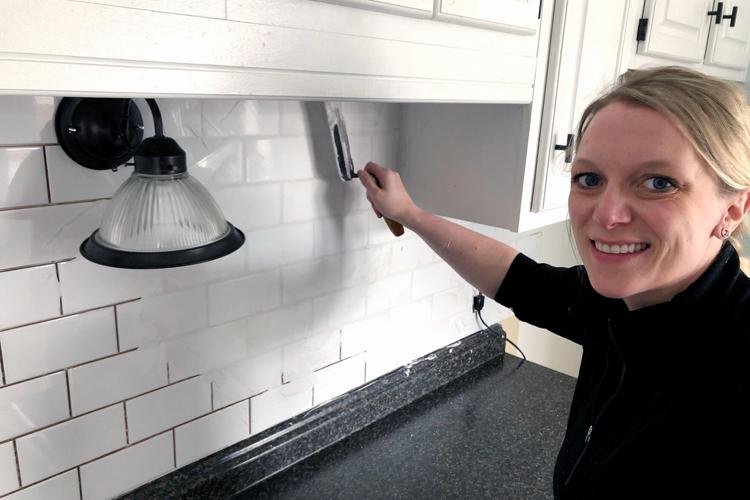
Step 5 – Wait, clean and seal

Wait 24-48 hours to let everything fully cure. Then you can give your tiles a good wipe down to clean them to prepare for the sealing process.
Sealing your grout lines is important to protect them from staining and water absorption. I used a simple product that comes in a small bottle with a brush for easy application. Whichever product you use, carefully read the directions and apply accordingly.
Voila! Another project is officially complete. Give yourself a pat on the back for a job well done! Doesn’t it feel good to tackle a project all on your own?
We’re giving away the chance to win a 1-hour DIY consultation with Jackie, personalized supply list and $100 Valu Home Centers gift card. Enter now »

For more DIY tricks, tips for your home and sustainable living solutions from Jackie, visit haus2home.com.


