We’re giving away the chance to win a 1-hour DIY consultation with Jackie, personalized supply list and $100 Valu Home Centers gift card. Enter now »
Searching for furniture can be tricky when you want something unique, functional, affordable and durable. Luckily, I have just the solution.
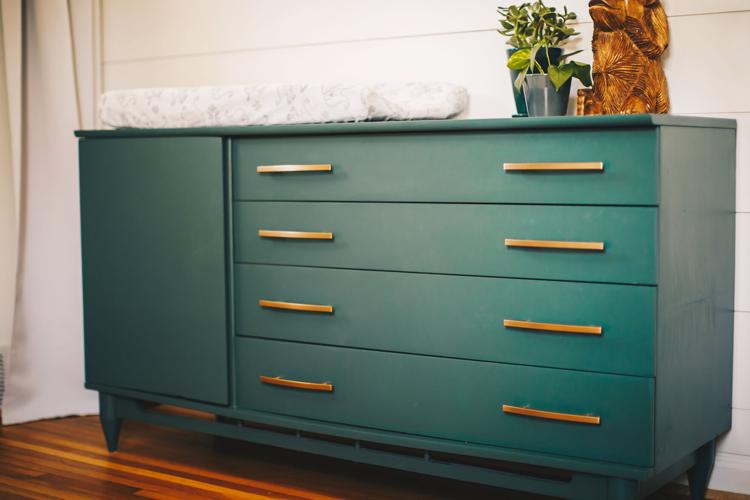
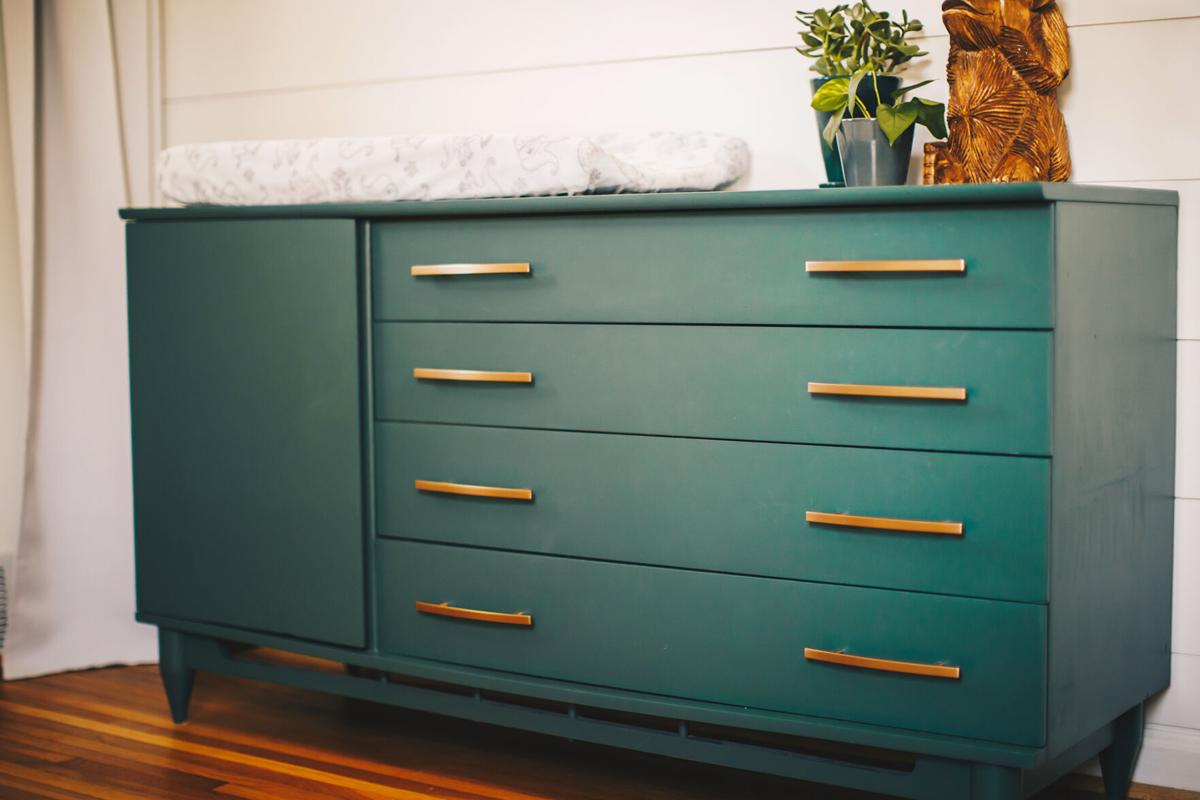
When we were looking for a changing table/dresser combo for our nursery, we either found pieces that were overpriced and not exactly what we wanted or items that were budget-friendly but poorly made. Being the do-it-yourself lover that I am, naturally the best option was to give new life to an old piece of furniture covered in dust and dirt.
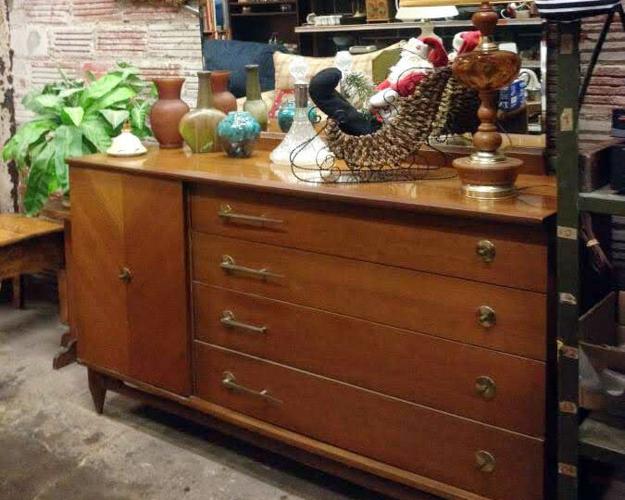
I found the perfect victim at a local thrift store for only $60. This dresser was 100 percent worthy of my time and elbow grease for a reboot. Here’s why.

They don’t make them like they used to is absolutely true when it comes to old furniture. Often times aged furniture is made of real, durable wood, which is not always the case with newer pieces. Most importantly, real wood furniture also has a becoming quality that might surprise you. Because wood furniture is here for the long haul, I not only invested in a great piece, but am also helping the environment, nixing the short-time-use and disposable culture that some new furniture creates.

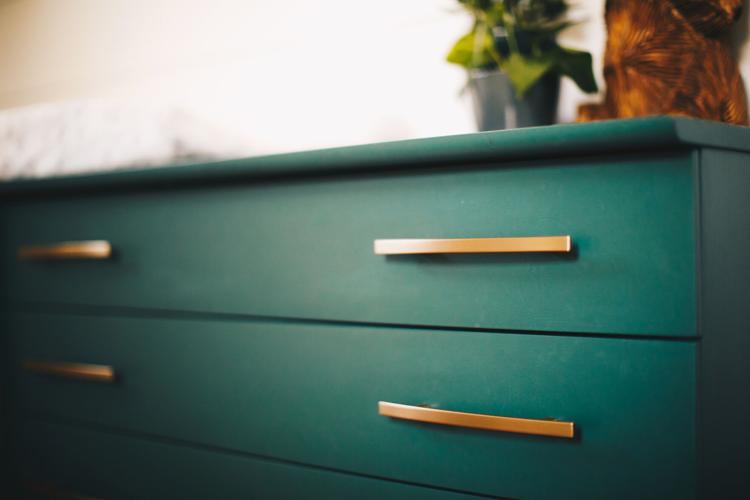
Another perk I love about redoing furniture is the customization it allows. I get so many compliments on the color and finishes of this piece, and it makes me super proud because I picked them out!
Painting furniture to create a one-of-a-kind piece

There’s a good chance friends and family will ask, “Where did you get that from?!”
For this DIY project, you’ll need:
- Screwdriver
- Wood filler and drill (if replacing the hardware)
- Clean rags
- Tack cloth
- Orbital sander and sanding pads
- Sanding block and/or foam sanding pads
- Quality paint brushes and roller, or paint sprayer
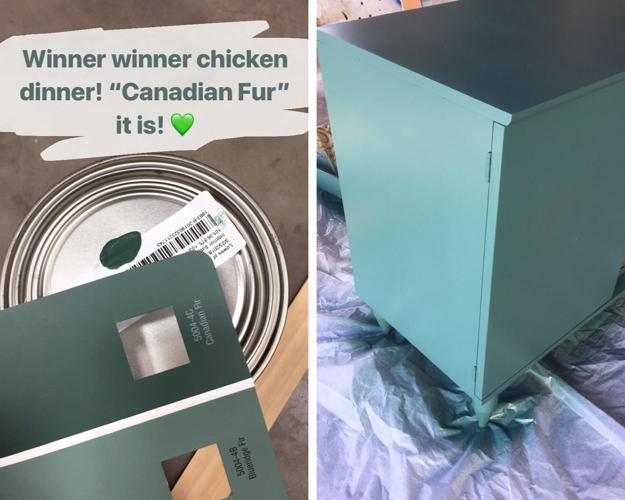
- Paint – I used “Canadian Fir” by Valspar
- Polycrylic (optional)
Step 1 – Prep and sand
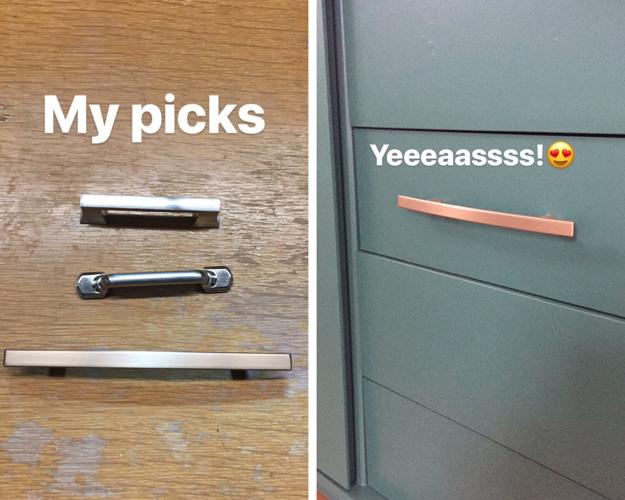
Start by removing all hardware on the furniture using a screwdriver. If you’re sticking with the same hardware when the piece is finished, you can clean them with soap and water or give them a little glow-up with spray paint. If you decide to go with new hardware, be mindful of the holes the old hardware left behind, especially if the new hardware you selected is different in size. If the latter is true, you’ll need to fill in the old holes with wood filler and wait for it to completely dry before sanding it smooth.
Finished pieces will have a protectant layer on them—usually from polyurethane or polycrylic—that will need to be removed so your new stain or paint can penetrate and properly adhere to the surface. The best way to remove the finish is by using an orbital sander and a medium grit sand paper pad. Lightly go over the finish on the flat surfaces to remove the top layer and smooth out any imperfections. A sanding job will also be a great first step in cleaning off any caked-up dirt, dust and grime the piece may have accumulated over time.
After you have the initial gloss coat removed, it’s a good idea to go back over the area with another light sand.
For those hard-to-reach spots and areas with detail, it’s best to put down the orbital sander and pick up a sanding block or a foam sanding pad. A little elbow grease will do the trick to finish the rest of your sanding job.
Step 2 – Clean, clean and clean again!
It’s always exciting to get started on the part of the transformation that makes a visual difference, but before you do, make sure you are fully prepared by thoroughly cleaning your piece! A clean rag goes a long way to tidy up your piece—a little soap and water never hurt either. Make sure you let everything completely dry before moving on.
After the initial cleanse to get all those tiny flecks of sanded material, wipe your furniture down with a tack cloth. Tack cloth is sticky and will pick up even the tiniest specks of dirt you can’t see, which is incredibly important for a smooth paint job.
Step 3 – Paint

Let the fun part begin! The painting step is officially here.
By this point, you have prepped your heart out, so you’ll want to make sure you paint your furniture in an area free of dirt and any breeze that might kick up the dust. This is especially true if you’re using a paint sprayer for the job since air blows out of the sprayer. If you prefer the paint brush and roller route, be sure to use quality products to avoid harsh brush strokes. Another tip for avoiding brush strokes: Always paint in the same direction—and if you can, in the direction of the wood grain.
If you’re opting for a chalk paint, it may let you completely skip the sanding portion of the project. Always read the label first as all brands are different.
If you prefer to use a more common latex paint, light coats will be the key to success. It’s natural to want to glob the paint on, but thick coats won’t cure as well in the end and will take much longer to dry. In between your thin coats, allow the paint to completely dry and sand lightly with a fine-grit (220 grit) sandpaper. It’s also a good idea to clean in between each coat with a tack cloth to grab any dust particles that might be lurking. Two to three coats of paint should be all you need for full coverage.
For extra protection, you can choose to seal your furniture with a furniture wax or polycrylic product. Read the instructions on the back of your product to ensure it’s compatible with your paint.
Tip: If you have a dark piece of furniture you’re looking to go light with, you can also choose to prime your piece before painting.
Step 4 – Reattach hardware

This step is simple when using the original hardware. Use a screwdriver to reattach the hardware! If new hardware awaits, measure twice and drill once for your new holes.
Step 5 – Wait and admire
Did you know that most paint (especially latex) takes about three full weeks to cure? Give yourself a pep talk before being tempted to move and decorate your furniture. Instead, admire it from afar and wait for the curing process to conclude. In the end you’ll be happy you waited, and your furniture will thank you too!
Congratulations on a job well done!
Ready to tackle another DIY project? Stay tuned for the next edition of Project Renew, sponsored by Valu Home Centers.
Plus, we’re giving away the chance to win a 1-hour DIY consultation with Jackie, personalized supply list and $100 Valu Home Centers gift card. Enter now »

For more DIY tricks, tips for your home and sustainable living solutions from Jackie, visit haus2home.com.